
TABLE OF CONTENTS
Configuration requirements
The elastic search 7.16.2 version has a dependency on JDK version 17.0.1.
Steps To upgrade Elasticsearch service from 7.6 to 7.16.2 version:
Java JDK 17.0.1 Installation:
Elasticsearch 7.16.2 has a dependency on JDK version 17.0.1, below are the steps to install JDK 17.0.1:
- Download JDK 17.0.1 installer file.
- Double click on the downloaded file with the name “jdk-17_windows-x64_bin.exe”.
- The “Setup” window will be displayed as shown below. Click the “NEXT” button to continue the installation.

- The “Destination Folder” window will be displayed where the installation folder needs to be specified. Click on the “Next” button to continue with the default installation folder.

- A new window with the progress details will be displayed, the user would need to wait until the installation process would be completed.

- After successful installation, the completion window will be displayed with a success message. Click the “Close” button. The installation process is completed, and now there is a need of configuring the environment variable for Java.

- To configure the Java environment variable, follow the below steps:.
- Go to computer properties.
- Click on the “Advanced system settings” option.
- Click on the “Environment variables” button.
- Under the “System variables,” section click on the “New” button to add the new system variable for JAVA.
- The “Edit System Variable” window will be displayed where valid values for the Variable name and the Variable value field need to be provided. The installed JDK path needs to be set as a value as shown in the below screenshot.
Note: Elasticsearch 7.16.2 version searches for JAVA variable with the name “ES_JAVA_HOME” so it’s mandatory to configure system variable with the same name.

Note: If there are environment variables with the name “ES_HOME” and “ES_PATH_CONF” available in the “System Variables” section then delete them.
Remove Elasticsearch 7.6
In order to install the latest version of Elasticsearch on the system, older versions can be removed first. Execute the below commands to remove the older 7.6 version of elastic search:
- Open the “Command Prompt” in the administrative mode.
- Change the directory to the bin folder of Elasticsearch with the following command:
- cd {path of the bin folder of installed 7.6 version of elasticsearch}
e.g.: cd D:\ElasticSearch\elasticsearch-7.6.0\bin
- cd {path of the bin folder of installed 7.6 version of elasticsearch}
- Press enter to execute the command.
- Enter the below command to remove the older service:
- elasticsearch-service.bat remove.
A success message will be shown.
- elasticsearch-service.bat remove.
Install Elasticsearch 7.16.2
The following are two ways to install an Elasticsearch service:
- Windows installation(via command prompt)
- MSI file i.e using an Elasticsearch installation widget.
Windows Installation Steps (via command prompt):
- Download the Elasticsearch setup (ZIP file for CMD installation) for the 7.16.2 version.
- Unzip the downloaded file at the desired location.
- Open the command prompt in administrative mode.
- Execute the below mentioned commands to install the 7.16.2 version of the Elasticsearch service:
- cd {path of the bin folder available in the extracted “elasticsearch-7.16.2” folder}
e.g.: cd D:\ElasticSearch\elasticsearch-7.16.2\bin - Press enter.
- Enter the following commands:
- elasticsearch-service.bat install
A success message will be shown. - elasticsearch-service.bat start
The success message will be shown.
- elasticsearch-service.bat install
- cd {path of the bin folder available in the extracted “elasticsearch-7.16.2” folder}
MSI file installation steps:
- Download the Elasticsearch setup (MSI file) for the 7.16.2 version.
- Double click on the downloaded MSI file with the name “elasticsearch-7.16.2.msi”.
- The “Notice” window will be displayed where the installation location will be displayed as shown below. Click the “NEXT” button to proceed further.

- The “Configuration” window will be displayed where the user can specify the details like Cluster name, Node name, HTTP port, Transport port etc. or to proceed with the default settings click on the “NEXT” button to proceed further.

- The “Plugins” window will be displayed where no changes are required. Click the “INSTALL” button.

- The installation will start and later ElasticSearch service will start.

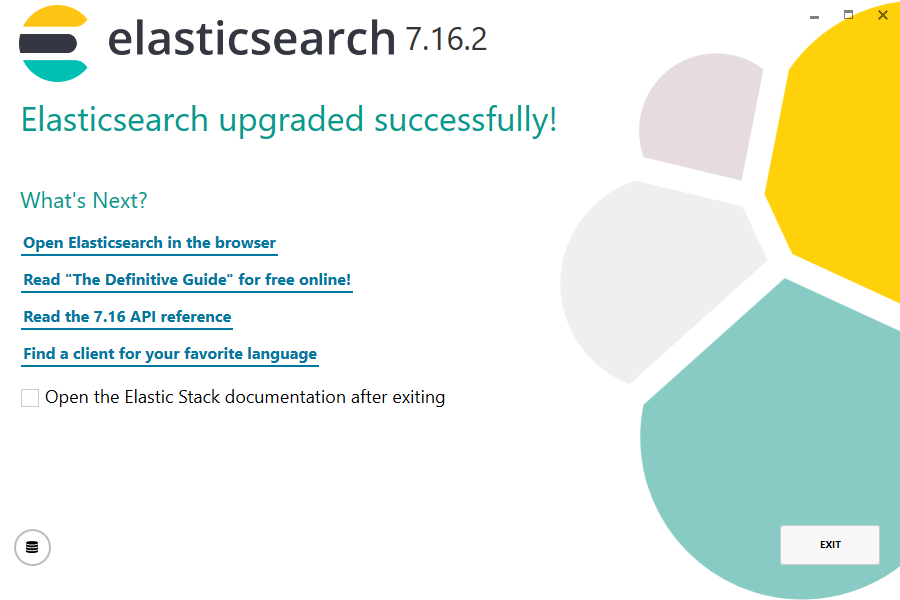
- The final window will be displayed with the message “Elasticsearch installed successfully!” then click on the “EXIT” button.
- After successful installation, the search service can be seen in the window's services list. Change the startup type from "Manual" to "Automatic" in the service properties.